
How to Drive Customers to Your Online Farm Store
The biggest hurdle many farmers face when starting with online sales is converting their "offline"...

 Nina Galle
Jun 14,2022
Nina Galle
Jun 14,2022
Get the most out of your Local Line account! Using all the features to the fullest will allow you to maximize your experience and manage your business seamlessly and effectively.
As a team, we’ve compiled the 7 best Local Line tips to help you learn more about what the platform does and find the best system for your business.
Local Line users with a price list schedule enabled see 3x as many orders in their store, and their average order size is 53.1% greater!
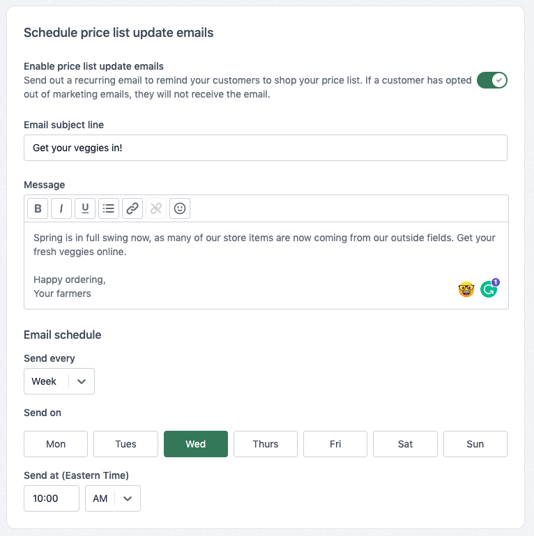
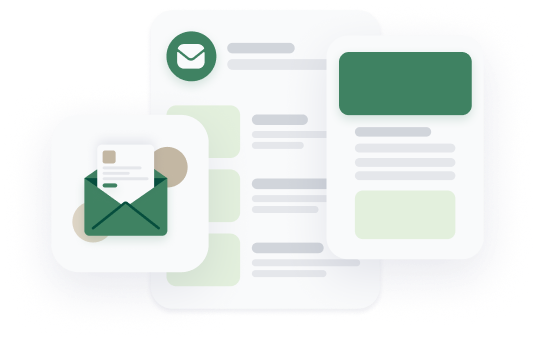
The price list schedule feature allows you to send automatic emails with the respective price list to your customers on a weekly basis. So, if you’re using price lists, you might as well set price list schedules! It keeps the communication open between you and the customer and makes it easy for them to order directly with the link to your storefront in the email.
Click on the Price Lists tab on the navigation pane. When you create a new price list or edit an existing price list, you will have the option to create a personalized price list schedule for that price list.
Timing
Think about when your customers are most likely to check their email and send your price list then. Set that as the time of day your price list will be sent out.
Personal Message
Take advantage of that message field! Try adding in a story from the farm that week or a new recipe you have been loving featuring your products. These are great ways to engage your customers! Just remember to click on and change that message before the next price list is set to be sent out, so your customers don't receive the same message twice. 😊
Use these message examples as templates for your own price list schedules:
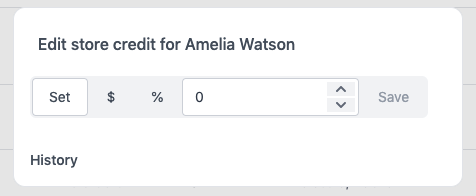
The store credit feature allows customers to pay for their order using store credit. It can be used for CSA or farm credit, pre-paid orders, refunds, and more! But we think that store credit is also a great way to run promotions and contests for your customers! Everyone loves free stuff. Consider running a contest for your customers to encourage online sales.
Customers are able to pay for their orders using the store credit attached to their account.

Bonnie from Richfield Farmers Market ran a contest for her market. The first 150 customers to share a certain post and sign up to their online store received $5 towards their first purchase, and one lucky winner received a voucher for $50. The store credit feature allowed the team to update these credits to the correct customers in the system. By running this program, they saw a huge increase in new sign-ups and online orders!
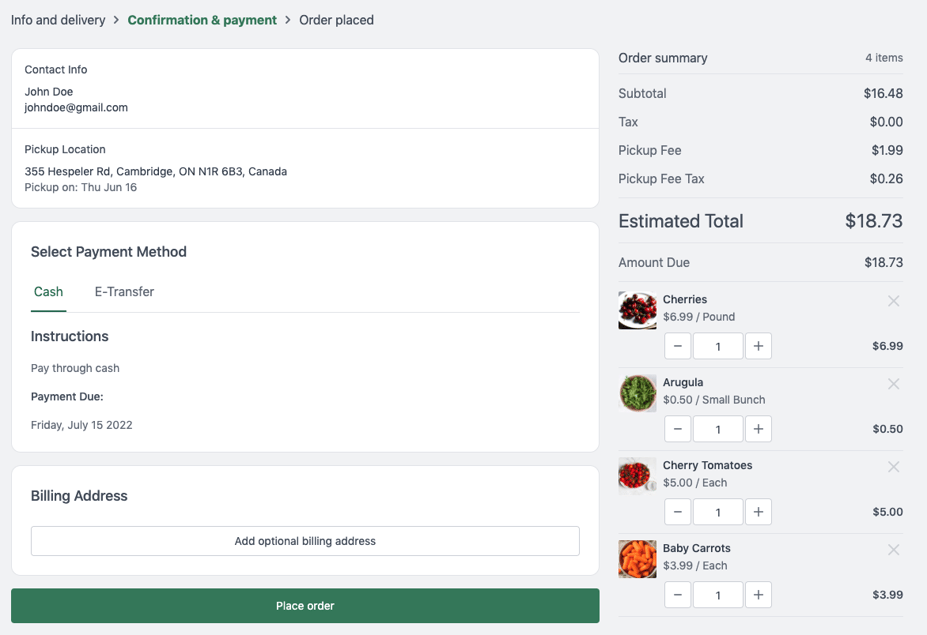
Payment options allow you to customize the payment methods you accept when customers order. For example, you may want to offer credit card, cash, e-transfer, or SNAP coupons as payment options when customers check out. By updating payment options, you can keep track of customer payments all in one place. When you download your order reports, payment option will show up in the spreadsheet.
Looking for ways to sell seasonal products or move extra inventory? Offering product discounts can be a great way to sell out quickly! Local Line allows you to apply discounts to products directly on your online store. This makes it easy to quickly adapt pricing depending on inventory levels.
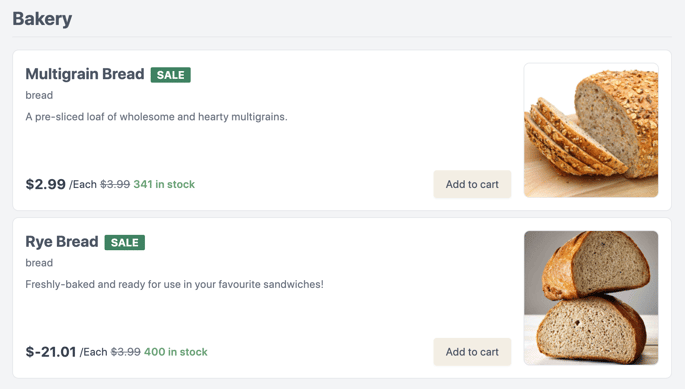
Your customers will see this when they shop your online store.
Note: It is always good practice to view your store after making a change to make sure you like the way it looks!
Need some time to make adjustments to your online store, or taking the week off? You can easily temporarily turn your store on and off when needed. If you flip the off switch, customers will not be able to make orders until you turn the store back on.
To close your online store:
Your store will now say Closed when customers go to shop. Take the same steps to turn your store back on.
Local Line offers real-time dashboards and reports so you always know how business is going. Reports by product, customer, order, delivery locations, and more means you'll know all the good and the bad, and be able to make the right decisions for you.
To access your reports, click on the Reports tab.
For even more help with farm data, be sure to download our new handbook:
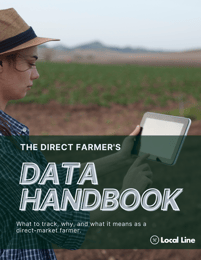
Use this handbook to give you more meaning to the numbers that farms should be tracking in order to really see what is happening with their business.

Did you know you can update the seasonal availability of products automatically? By turning on the seasonality function, you can select the start and end dates for certain products. This will ensure customers never order products out of season!
To enable seasonality, simply turn on the Seasonality toggle and select the Start and End dates using the calendar pickers. Seasonality can be turned on and off and dates can be updated at any point.
The visibility also allows you to remove products from your available products without deleting it fully from your price lists. It will remain in the price lists you've added it to, but will not be visible to customers or available for purchase.
To enable visibility, simply switch the Visibility toggle to off. If turned off, this item will be visible to you and grey in colour.
Note: fully deleting a product will cause it to be removed from all previous order invoices. Instead, simply turn off the visibility of the product to remove it from your storefront and from your customer's view.
Used by all types of local food suppliers, Local Line helps you sell online, communicate with customers, and manage your business all in one place.


The biggest hurdle many farmers face when starting with online sales is converting their "offline"...
Are you ready to take your farm to the next level by launching your Local Line store? In this...

Your farm website is your digital storefront. Think about your website as a store or restaurant. If...